#Die Cutting • OEM/ODM for Brands
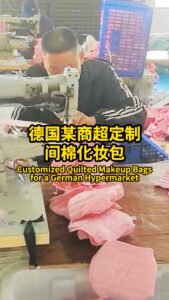
Die Cutting in Cosmetic Bag Manufacturing: Real Factory Footage, Printed Fabric Control & QC Checkpoints
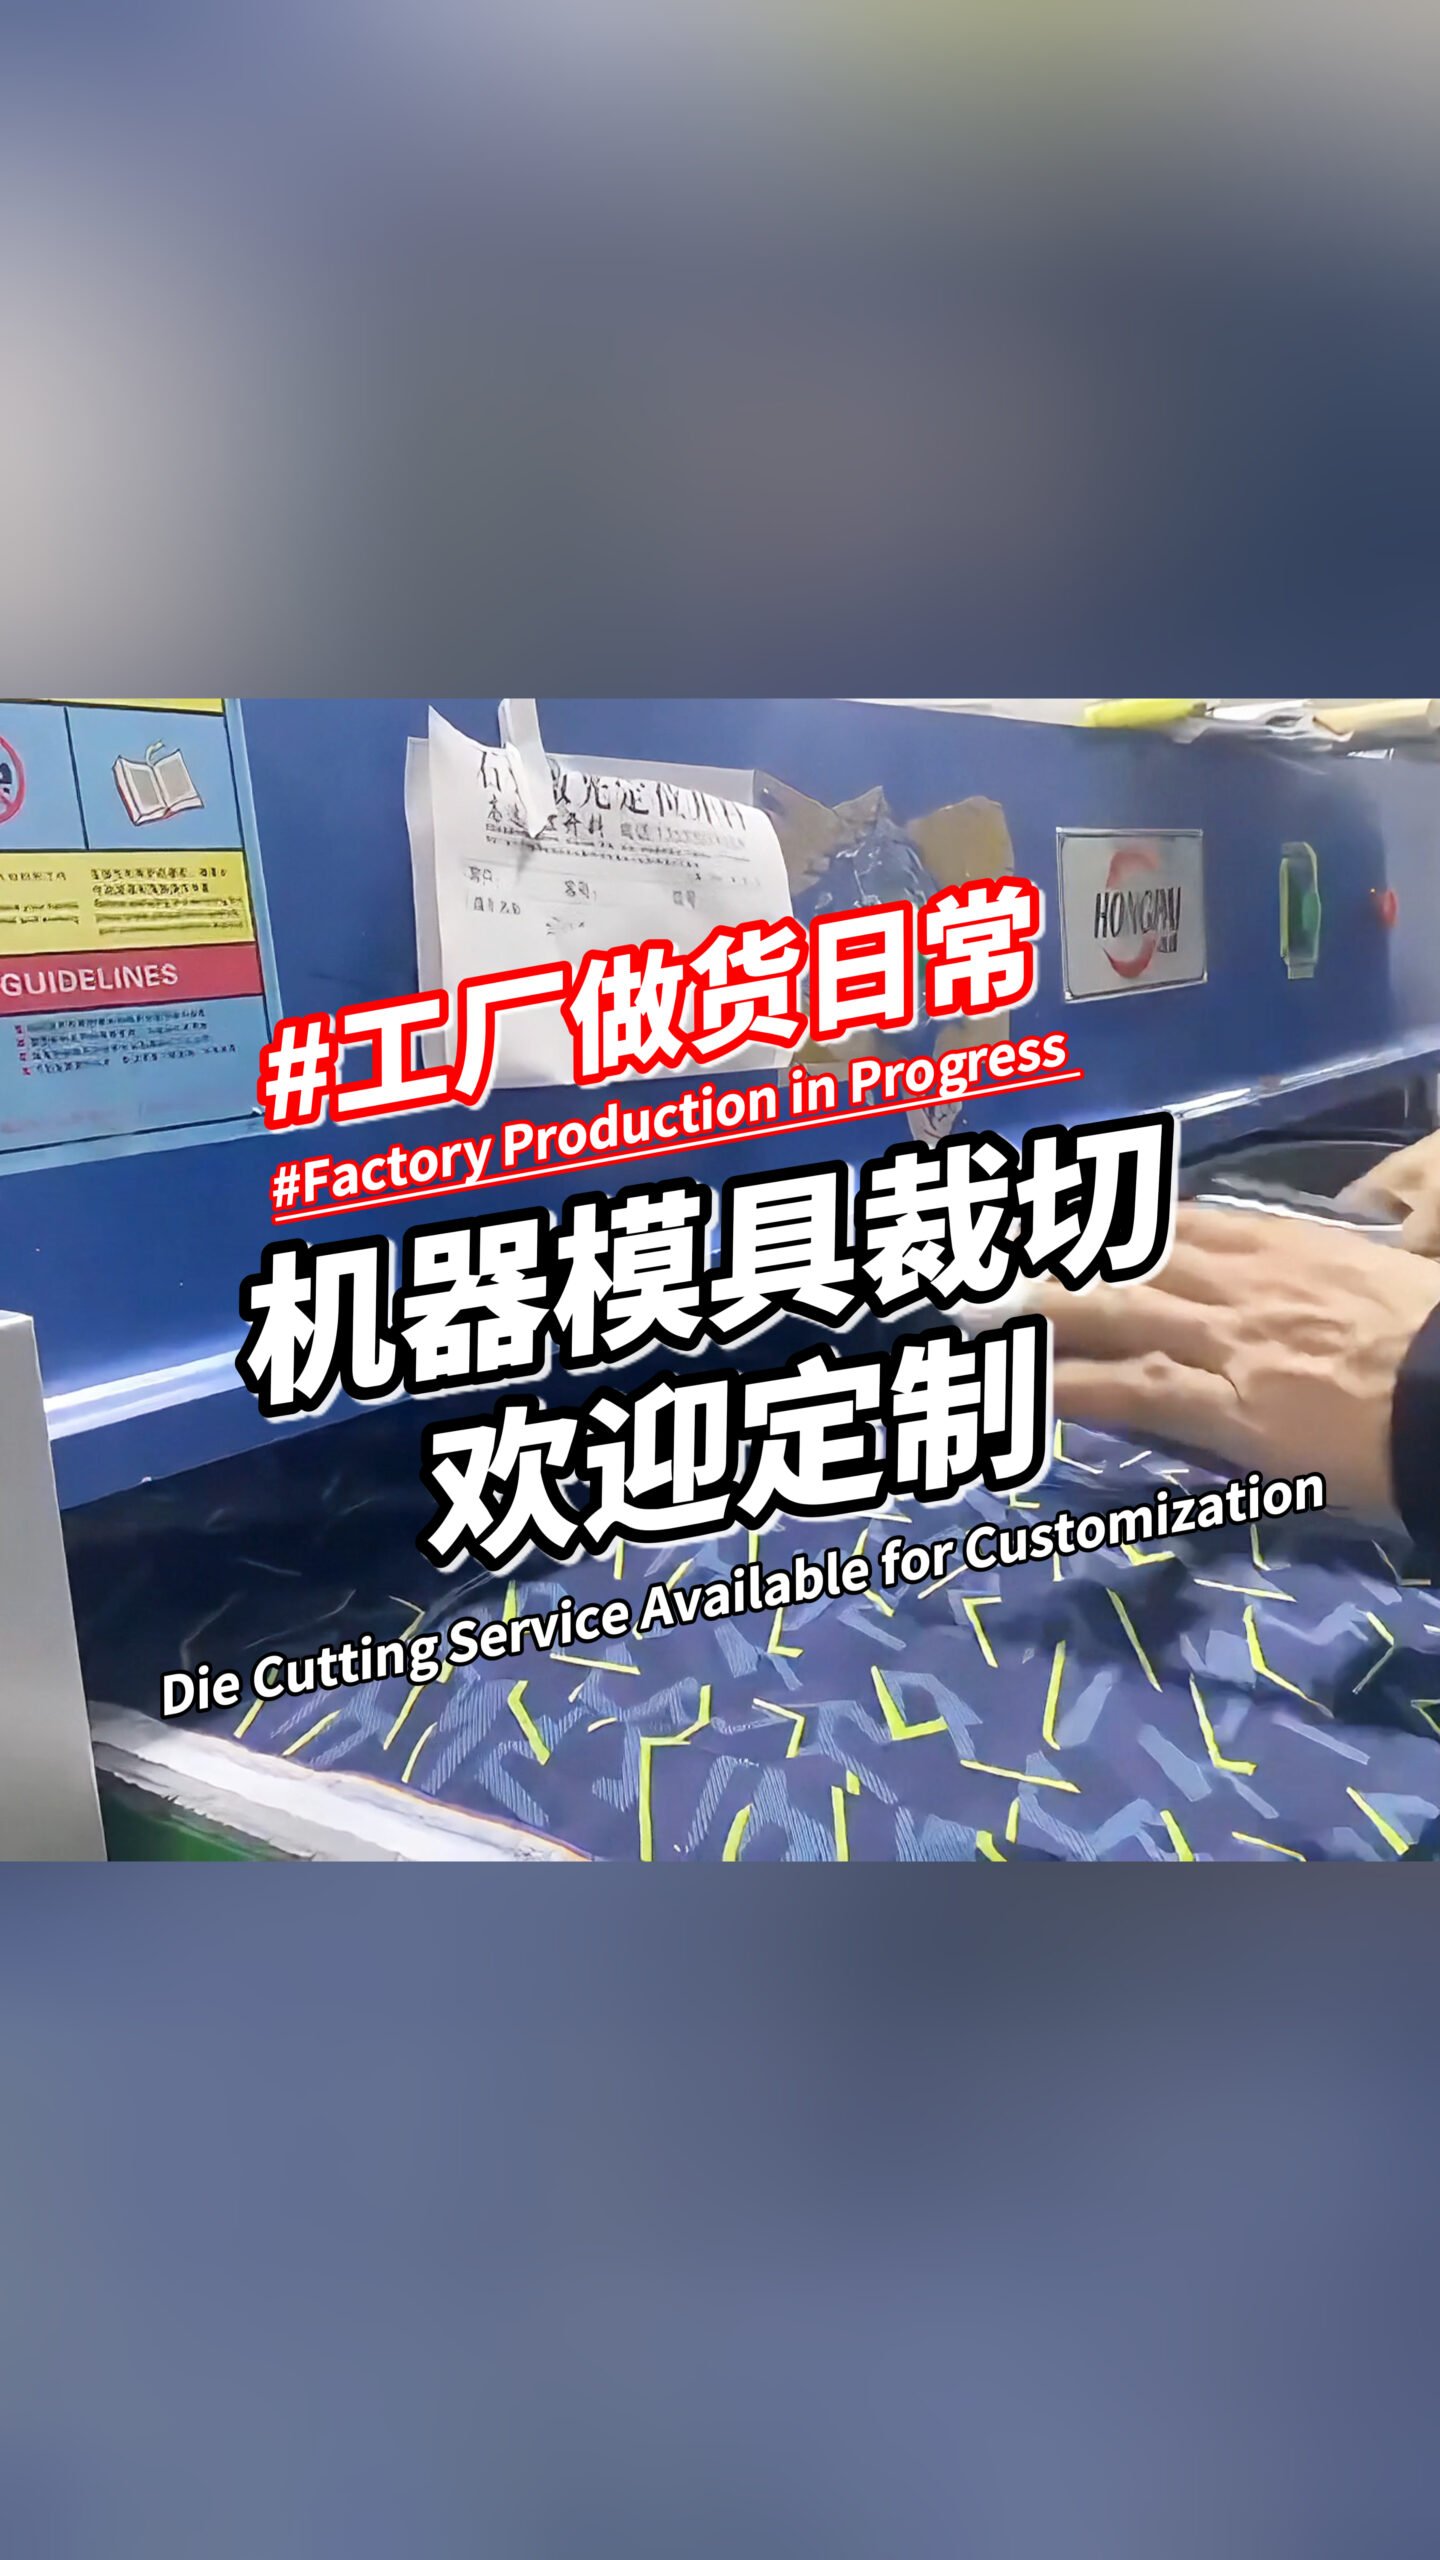
In this real workshop clip, you’ll see a die cutting machine processing a patterned fabric layup. The operator positions the die, runs the cutting cycle, then strips and stacks the cut pieces. If you’ve ever had bulk orders where sizes drift or panels don’t align during sewing—this step is often the reason.
Video: Die Cutting (Real Factory Footage)
What you’ll notice: a patterned fabric sheet is fed under the press area; the die frame is placed/handled; after cutting, the operator removes the “negative waste” and keeps clean stacks of cut panels.
- Experience: real cutting footage
- Expertise: precision panel control
- Trust: QC checkpoints table
- Conversion: buyer-ready file checklist
Ask for a Cutting + Sampling PlanView Custom Bag Categories
On This Page
- What is die cutting (and why buyers should care)
- What happens in the video (step-by-step)
- Printed fabric & pattern placement: common pitfalls
- Die cutting QC checkpoints (table)
- Die cutting vs. laser vs. hand cutting (table)
- What to send us to start (buyer file checklist)
- Compliance references (official resources)
- FAQ
- Next steps
What Is Die Cutting (and Why Buyers Should Care)
Die cutting uses a custom metal cutting die (a shaped blade frame) to cut fabric panels into repeatable shapes. For bag production, this matters because sewing accuracy starts with panel accuracy: if the cut is inconsistent, the sewing line has to “fight” the shape—and defects show up as twisting, uneven edges, or misaligned seams.
Plain language for buyers: a clean, repeatable cut is the foundation of a clean, repeatable bag—especially for larger quantities and styles with multiple panels.
Note: This page focuses on physical manufacturing processes and quality control. It does not discuss sensitive topics and is written for general business and sourcing audiences.
What Happens in the Video (Step-by-Step)
Step 1 — Fabric Layup & Alignment
In the footage, the patterned fabric is laid flat across the cutting table area. A stable layup reduces shifting. If the print has direction (up/down), alignment is also where we prevent “rotated panels.”
- Buyer value: reduces bulk variation (shape + print direction).
- What you can request: “print direction confirmed” in your PO if the artwork matters.
Step 2 — Die Placement + Cutting Cycle
You can see the die frame placed on the fabric and positioned under the machine’s cutting zone. This is where accuracy is decided: placement + pressure + cutting depth.
- Buyer value: consistent panel size → smoother sewing → cleaner final shape.
- What you can request: first-cut approval photo for new dies (especially for new styles).
Step 3 — Stripping the Cut Pieces & Stacking
After the cut, the operator removes the “negative waste” and keeps stacks of cut panels ready for the next stage. Clean stacking matters because it keeps lots tidy and reduces mixing.
- Buyer value: fewer missing parts; smoother assembly.
- What you can request: bundle labeling (style/color/size) for multi-SKU orders.
Printed Fabric & Pattern Placement: Common Pitfalls (and How We Avoid Them)
The video shows a bold, high-contrast print. Printed materials look great—but they also create extra risks if the cut plan is not controlled. Here are the issues buyers typically care about:
- Print direction: panels accidentally rotated (looks “off” when assembled).
- Pattern placement: key elements landing too close to the seam/edge.
- Panel mismatch: left/right sides not visually balanced for symmetrical designs.
Fast fix: If placement matters, send a placement reference image (a simple marked screenshot is enough). We align the cutting plan accordingly before sampling.
Die Cutting QC Checkpoints (Copy-Friendly Table)
Use these checkpoints if you want measurable control at the cutting stage—not only after sewing.
| Checkpoint | How We Check | Common Problems | Buyer-Friendly Acceptance Rule |
|---|---|---|---|
| Panel size consistency | Measure key dimensions on first sets + spot checks | Oversize/undersize drift | Within agreed tolerance at critical points |
| Clean edges | Visual + touch check (no rough tears) | Fraying / jagged edges | No visible tearing; edges suitable for sewing |
| Print direction | Confirm up/down orientation before cutting | Rotated panels | Direction matches approved sample / placement |
| Die placement | Confirm placement reference for key areas | Artwork too close to seam | Key artwork stays inside “safe zone” |
| Bundle separation | Stack + label by style/color/size | Mixed lots | Bundles clearly separated for assembly |
Pro buyer tip: If you want fewer surprises in bulk, request a first-cut photo (size + placement) during sampling for printed styles.
Die Cutting vs. Laser vs. Hand Cutting (Quick Comparison)
| Method | Best For | Strengths | Considerations |
|---|---|---|---|
| Die Cutting | Repeatable bulk panels, stable shapes | Consistent size, efficient for volume | Requires die development for new shapes |
| Laser Cutting | Some synthetics, complex lines | High detail, no physical die | Edge appearance/heat effect depends on material |
| Hand Cutting | Very small quantities or rough prototyping | Fast to start, flexible | Higher variation risk in bulk |
What to Send Us to Start (Die Cutting + Sampling Checklist)
Want a faster, smoother sampling cycle? These files and details help lock the cutting plan correctly—especially for printed fabrics.
| What You Send | Why It Matters | Example |
|---|---|---|
| Target size (L×W×H) + function | Defines panel geometry + reinforcement needs | “18×8×10 cm makeup pouch, zipper top” |
| Material spec (or swatch) | Determines cutting settings + edge behavior | Canvas / PU / printed polyester / etc. |
| Artwork file (if printed) | Controls direction + placement expectations | AI / PDF / high-res PNG |
| Placement reference image | Prevents “good print, wrong position” | Marked screenshot is OK |
| Target market + intended use | Helps plan documentation/testing route | Retail / gifting / promotional |
| Estimated quantity + timeline | Helps choose best production method | MOQ range + ship date target |
Practical note: For printed orders where placement matters, approving a “first-cut placement photo” can save time and reduce rework later.
Compliance References (Official Resources)
Requirements vary by material, coating, inks, and intended use. Here are official resources many buyers and compliance teams reference:
- EU REACH (European Commission): Official overview
- ECHA (EU Chemicals Agency): Understanding REACH
- UK REACH (UK HSE): UK REACH guidance
- US CPSIA (CPSC): CPSIA overview
- ISO 9001 (Quality management): ISO overview
Compliance clarity: obligations depend on product materials, claims, and end user group (children’s products can require more specific testing). Your importer/compliance partner typically confirms the exact test list.
FAQ
Why is die cutting worth highlighting in a factory video?
Because cutting accuracy affects everything that follows. Clean, repeatable panels make sewing easier, reduce shape distortion, and help bulk match the approved sample more reliably.
Do printed fabrics need special handling during cutting?
Yes—mainly for direction and placement. If the artwork matters, send a placement reference and we’ll align the cutting plan before sampling.
What’s the fastest way to reduce mistakes in bulk orders?
Confirm three things early: (1) approved material/spec, (2) first-cut size/tolerance, (3) print direction/placement (if applicable). These remove the most common causes of rework.
Next Steps
If you want consistent bulk results, start from the cutting plan. Share your target size, material, and artwork (if printed), and we’ll recommend a sampling route and the QC checkpoints to lock before sewing begins.
Get a Quote + Cutting PlanExplore Our OEM/ODM Bags
What This Video Proves
- Capability: die cutting for repeatable shapes
- Process: layup → cut → strip → stack
- Control: printed fabric direction/placement can be managed
- Quality: cutting checkpoints before sewing begins
Suggested Internal Links
Replace with your exact qnbags.com URLs:
Aries Gu is the founder of Q&N. With over 17 years of experience in cosmetic bag OEM/ODM source factory. He focuses on quality control, efficient communication, and on-time delivery for global cosmetic bag projects.