A “nice-looking sample” is not the same as a retail-ready sample. For B2B cosmetic bag programs, the retail-ready sample is your master reference: it defines the materials, the edge finishing standard, zipper feel, print durability, and—most importantly—how the factory will repeat the same quality in bulk.
This guide breaks down a factory workflow you can actually use during sampling: fabric selection → incoming quality check → precision cutting → printing → sewing & assembly → trimming/edge finishing → final inspection → packing/warehouse. Then we’ll give you a copy/paste checklist to approve samples faster and reduce bulk surprises.
Quick Navigation
- What “Retail-Ready” Means in Sampling
- Factory Workflow: Sampling to QC
- Edge Binding & Clean Finishing: Where Samples Usually Fail
- Sample Approval Checklist (Copy/Paste)
- Bulk Consistency Controls (What to Ask the Factory)
- Mini RFQ Template for Sampling
- FAQ
What “Retail-Ready” Means in Sampling
A retail-ready sample should look and perform like the product customers will receive on shelf—clean edges, consistent stitching, smooth zipper alignment, correct logo placement, and a finished surface that doesn’t feel “workshop rough”.
In practice, “retail-ready” means two things:
- Appearance standard is locked (edge finish, seams, logo sharpness, lining cleanliness, shape).
- Process standard is locked (the steps and specs that let the factory repeat the sample in bulk).
Tip: When approving a sample, don’t only say “OK to proceed.” Approve it with measurable specs: thickness tolerance, zipper model, seam allowance, edge binding width, print rub standard, and packing method.
Factory Workflow: Sampling to QC (Step-by-Step)
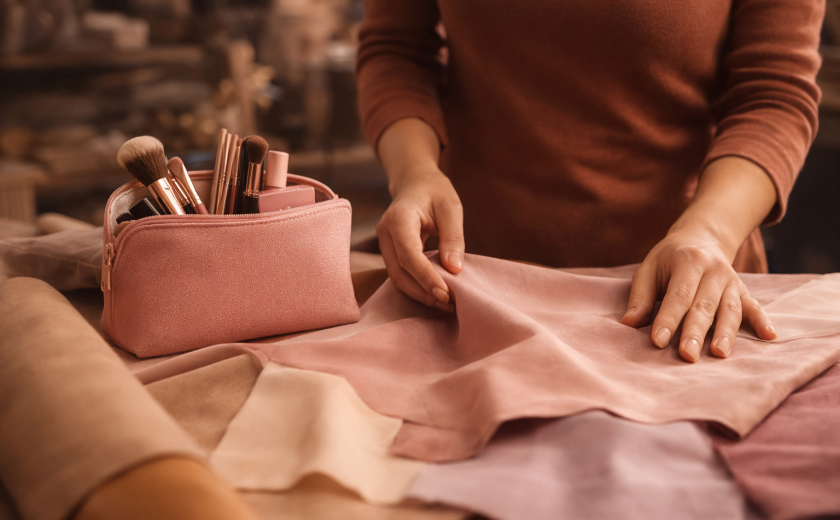
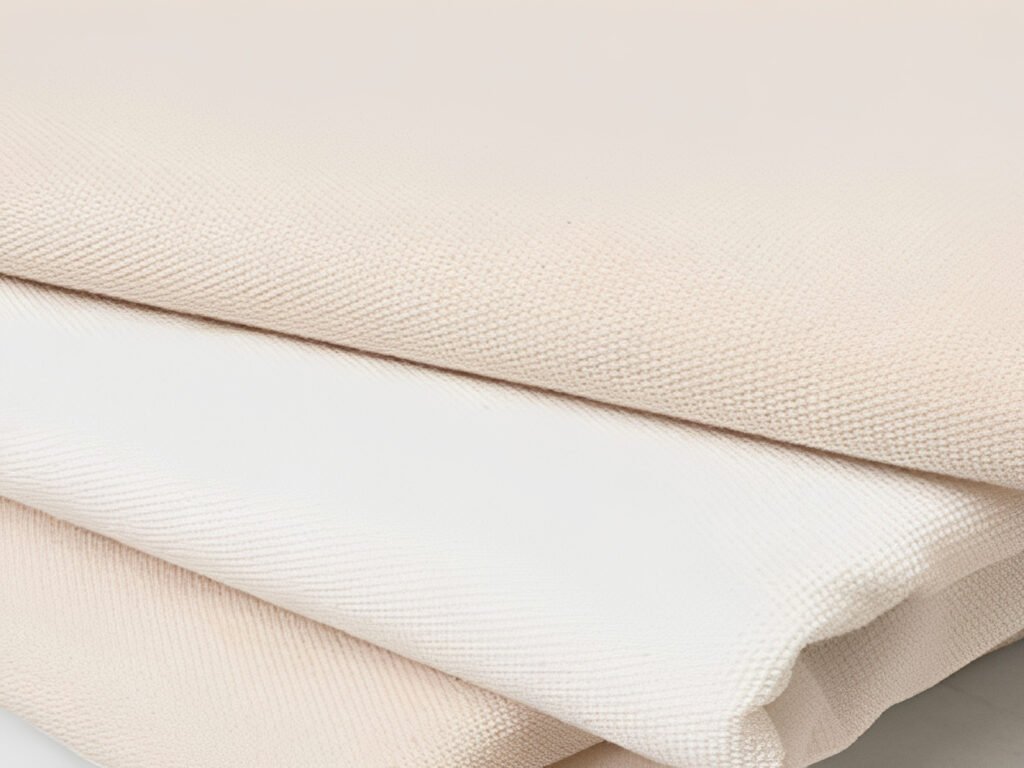
1) Fabric Selection (Match performance to positioning)
The first step is choosing materials that match your brand positioning, durability needs, and target cost. Many factories support a broad range of options—nylon, polyester, canvas, leather, cotton, neoprene, PVC/TPU, and recycled fabrics—so the key is to lock the option that can be sourced consistently for bulk.
2) Incoming Quality Check (Stop defects before production starts)
A reliable factory checks fabrics and accessories against the approved spec before cutting and sewing. This reduces the classic “sample OK, bulk different” problem—especially when supply chain substitutions happen.
3) Precision Cutting (Consistency begins here)
Cutting accuracy impacts everything: symmetry, zipper alignment, edge binding smoothness, and the final shape. Clean cutting also reduces material waste and prevents dimensional drift across batches.
4) Printing / Logo Application (Calibrated for sharp details)
Printing and logo work should be calibrated for stable adhesion and clean edges. If your bag uses screen printing, heat transfer, emboss/deboss, woven labels, rubber patches, metal logos, or zipper pull logos, confirm placement and durability during sampling.
5) Sewing & Assembly (Structure + functional alignment)
Sewing is where you lock the “feel”: seam straightness, reinforcement at stress points, and functional alignment (zippers, pockets, handles). Small misalignment becomes a huge problem once you scale.
6) Trimming + Finishing (Retail-ready details)
Retail-ready finishing includes thread trimming, cleaning surfaces, and refining edges so the product looks polished, not “handmade in a rush.” Edge finishing is also where most sampling rework happens—especially on corners and zipper ends.
7) Final Quality Inspection (Compare to approved sample)
Final QC should check stitching, printing, dimensions, and function against the approved sample. If the factory has a QC lab or standardized inspection routine, ask what they measure and how they record results.
8) Warehouse + Packing (Protect the finish you paid for)
Packing and storage matter more than most buyers expect. Scratches, dents, dust, and zipper deformation often happen after production—during packing, storage, and shipping. Confirm packing standards as part of your sample approval.
Internal link suggestion: See OEM/ODM materials, logo options, and the manufacturing workflow overview.

Edge Binding & Clean Finishing: Where Samples Usually Fail
If you want a “retail-ready” look, edge work is the difference between premium and cheap. Common edge-related failures include:
- Binding tape not centered (exposes raw edges)
- Wrinkles at corners or zipper ends
- Uneven seam allowance (wavy lines)
- Glue/edge paint overflow or stains
- Bulky corners that don’t lay flat
How to fix it during sampling: lock the binding width, specify the corner finishing method, confirm the seam allowance, and require close-up photos/videos of corners, zipper ends, and handle stitching before approving.
Sample Approval Checklist
Use this checklist when you approve a retail-ready sample:
A) Appearance
- Overall shape and symmetry match the design
- Edges are clean: binding centered, corners smooth, no stains
- Logo position and size correct; print looks sharp
- Lining is clean and sits flat (no bunching)
B) Function
- Zipper is smooth, aligned, and closes cleanly (no snagging)
- Handle/strap reinforcement is solid; stress points are bartacked or reinforced
- Compartments/pockets are correctly sized and accessible
C) Measurable Specs (write these into approval)
- Material name + composition + thickness/weight (and tolerance)
- Zipper type/model + slider type + puller details
- Binding tape width + seam allowance + corner finishing method
- Logo method + color references + rub resistance expectation
- Packing method (individual polybag? tissue? dividers? protective film?)
D) What you must receive before bulk
- Approved sample photos (front/back/inside/corners/zipper ends)
- Spec sheet / tech pack version number
- Pre-production sample (PPS) requirement (Yes/No)
- Inspection level (AQL or your standard) + defect classification
Bulk Consistency Controls (What to Ask the Factory)
A strong factory doesn’t rely on “experienced workers” alone. They build repeatability through process control. Ask:
- Incoming material check: what do they inspect before cutting?
- Cutting control: how do they keep panel sizes consistent across batches?
- Print control: how do they prevent color drift and weak adhesion?
- Sewing control: what reinforcements are standard for stress points?
- Final QC: what is checked against the approved sample (dimensions, function, appearance)?
- Packing standard: how do they prevent scratches, dents, and deformation in transit?
Buyer-friendly rule: if the factory can’t describe how they keep the same zipper alignment, edge binding, and logo placement from the sample to bulk, they’re not ready for a retail program.
Mini RFQ Template for Sampling
Send this to factories to get apples-to-apples sample quotes:
[Retail-Ready Sample RFQ – Cosmetic Bag]

1) Bag type + target use:
   (travel kit / gift set / daily makeup organizer / promo)

2) Size + structure:
   (dimensions, compartments, pockets, handle/strap)

3) Materials:
   outer material + lining + padding (if any) + target thickness/weight

4) Zipper/hardware:
   zipper type/model, slider, puller details

5) Logo method:
   screen print / heat transfer / embroidery / patch / metal / zipper pull logo

6) Edge finishing:
   binding tape width, corner finishing method, seam allowance requirement

7) Sample requirements:
   number of samples, sampling lead time, revision rounds included

8) Bulk control:
   pre-production sample (PPS) requirement, inspection level, defect standards

9) Packing:
   individual polybag? tissue? dividers? scratch prevention method

10) Target market:
   where you sell (EU/US/etc.) + any compliance documents needed
FAQ
1) What’s the difference between a normal sample and a retail-ready sample?
A normal sample proves the design can be made. A retail-ready sample proves the design can be made repeatably with finished edges, stable zipper alignment, and a locked spec that supports bulk consistency.
2) What are the most common reasons samples get reworked?
Edge binding/corners, zipper end finishing, logo placement accuracy, lining cleanliness, and dimensional drift. These are detail problems—so solve them by locking measurable specs, not by “try again.”
3) What should I approve in writing?
Material specs + zipper model + edge/binding standard + logo method + packing standard + inspection level. Approving only “appearance” is the fastest path to bulk mismatch.
4) How can I reduce bulk surprises?
Require an approved tech pack/spec sheet, request a pre-production sample (PPS) for retail programs, and align an inspection standard before production starts.
CTA: Need help turning your sample into a bulk-ready spec?
If you’re developing a private label cosmetic bag program, the fastest path is: approve a retail-ready sample + lock a measurable spec sheet + align a QC and packing standard.
Contact us with your target size, structure, and logo method—we’ll recommend materials, edge finishing options, and a sampling plan aligned to your market.
Aries Gu is the founder of Q&N. With over 17 years of experience in cosmetic bag OEM/ODM source factory. He focuses on quality control, efficient communication, and on-time delivery for global cosmetic bag projects.